It’s Frost Fest week here in Brookings – a celebration of winter in the Midwest! COVID-19 has us celebrating a bit differently this year, so we’re adding some online content this week so you can have some fun at home.
I’m a big fan of winter. Cold temperatures, lightly falling snow, warm blankets, and cozy nights make it my favorite season of all and I hate to see it go. This activity is great for those of you who (like me) love winter and want to keep it around all the time, but it’s also good for people who love the look of snow but could do without the cold that comes with it! So, pick some fun small toys or other small items from around the house, and let’s make a snow globe!
Find a helpful how-to video below:
Materials
- DIY snow globe kit OR glass or plastic container with a flat lid (mason jars, old seasoning containers, old candle containers, etc.)
- Paint or ribbon (optional)
- Small toys or other items that will fit inside your container (items should be non-porous and items that can’t rust – plastic, glass, or resin work well)
- Sandpaper
- Superglue or hot glue gun
- Distilled water (normal water will get cloudy over time)
- Clear glue
- Glitter
- Spoon, popsicle stick, or something to stir with
Instructions
- Clean your container and let dry. Soap and water work great, but an adhesive remover may be needed if you need to remove a label.
- OPTIONAL: If you are reusing a container or don’t like how the lid looks, decorate it! You can paint it or wrap it in ribbon to add colorful touch.
- Arrange small toys on the inside of your lid. Once you find an arrangement you like, make sure your container will fit with your items inside.
- Once you are happy with your toy arrangement, use sandpaper to roughen up both the bottom of the toys and the inside of the lid where you are gluing items together.
- Use superglue or a hot glue gun to glue your items in place. Allow glue to dry according to directions. NOTE: Make sure to get help from an adult when you are using your glue!
- Fill your container 2/3 full with distilled water and add a few squeezes of clear glue. The clear glue will thicken up your water so the “snow” will float around instead of just sinking to the bottom.
- Add glitter to your glue and water mixture and mix with a spoon or popsicle stick. At this time, if you don’t think you have enough glitter, you can add more. You can also add more clear glue at this time if you want your glitter “snow” to slow down. Your final mixture should fill your container with a little empty space at the top to accommodate your toys.
- Screw your lid on the container filled with liquid. Make sure to do this step over a sink or a plate/bowl because if you get your lid on and it’s too full of liquid, some will come out! If you get your lid on and there is still a lot of air space, you can remove it and add more water, clear glue, or glitter.
- Once you know your levels are where you want them, unscrew your lid and put a layer of superglue or hot glue around the lip of the jar. Screw the lid on and allow to dry (lid side up) according to glue directions. NOTE: Make sure to get help from an adult when you are using your glue!
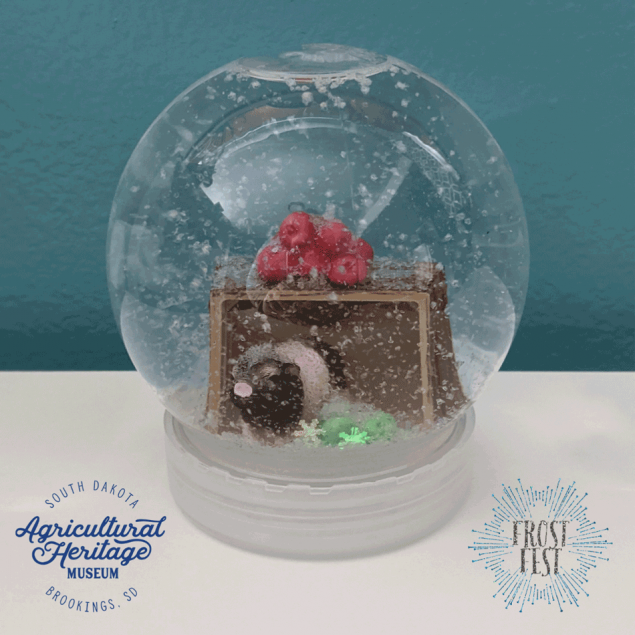
- Enjoy your snow globe!